Step by Step: How to Fix Oculus 'Not Enough Space' Install Error
January 01, 2024
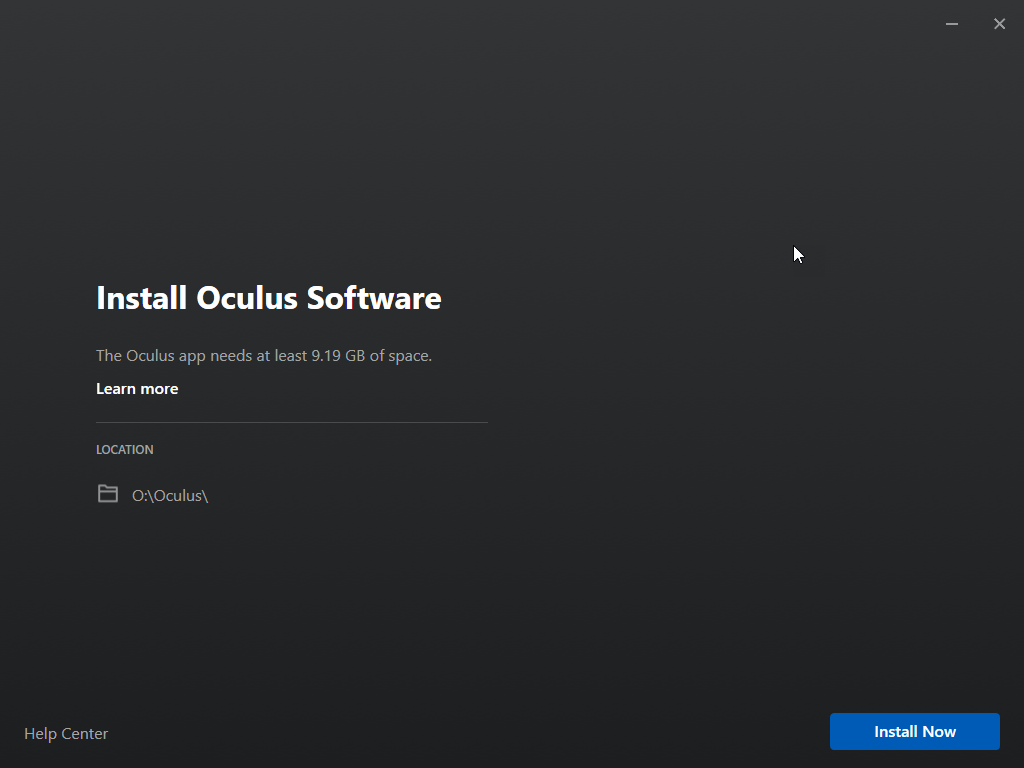
Although a leading provider of VR technologies, Oculus is not known for their Windows software prowess. When you install the Oculus app software and you’ve encountered an “Out of disk space” error when you have enough disk space, look no further. This is how to get around it.
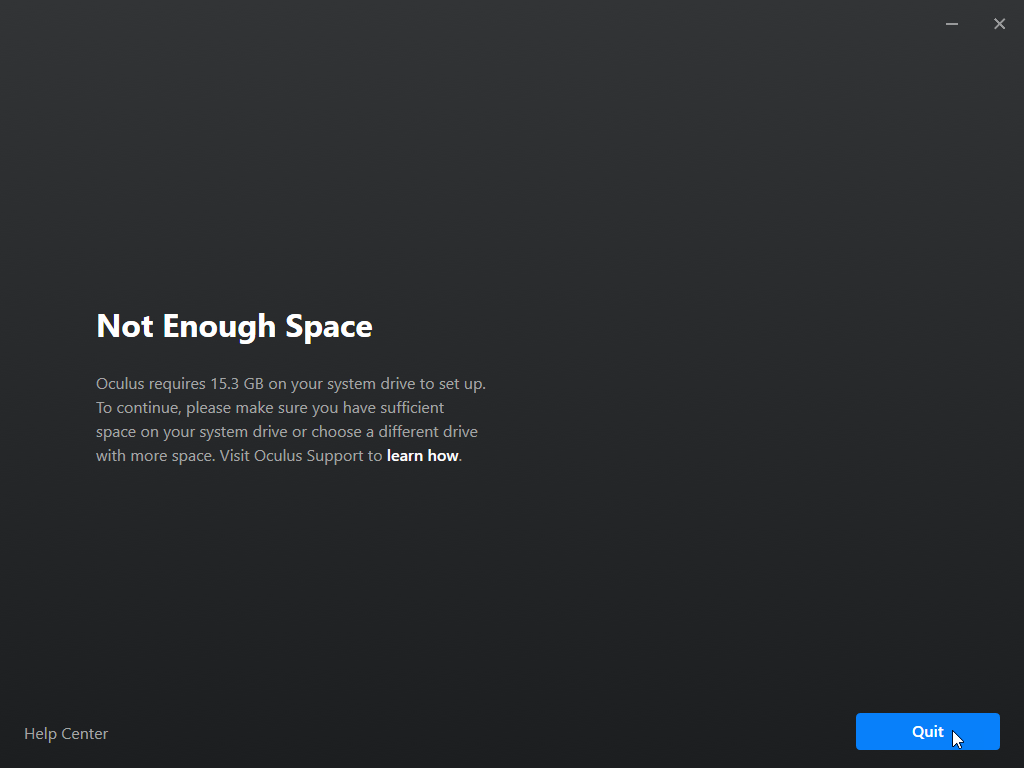
The Cause
This error happens when your hard drive is configured as “dynamic disks,” that enables certain features for more performance, extendability and reliability. Unfortunately the Oculus setup software didn’t account for this.
The fix in a nutshell
Let’s start off by saying that we are not reconfiguring your hard drive as “basic” (as most guides out there tell you to do). I don’t want to spend hours backing up my data and reinstalling windows just to use VR.
Instead, we are simply creating a disk file (known as a virtual disk), configured as basic so that the Oculus software can happily install. This is a feature of Windows 8.1, Windows 10, and above.
Step by Step
Part 1 – Create the virtual disk
-
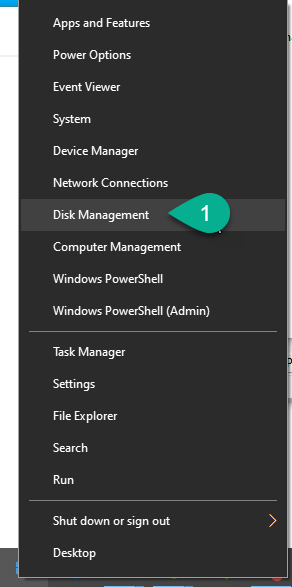
Right click the start button, and click “Disk Management”
-
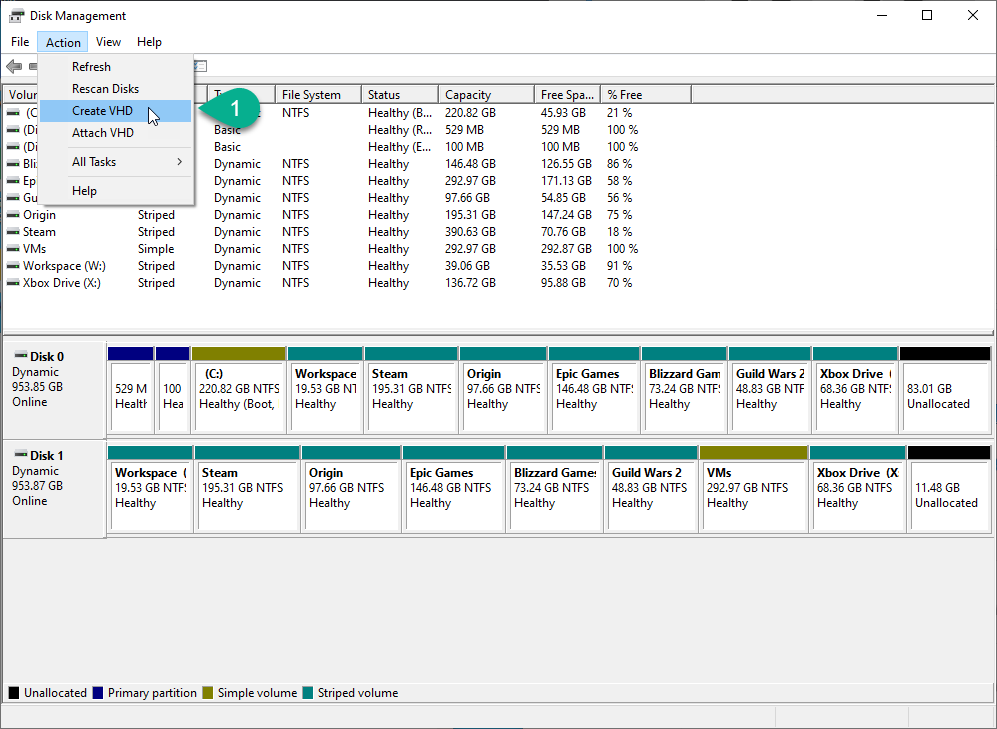
In the Disk Manager, click “Action” and then “Create VHD”
-
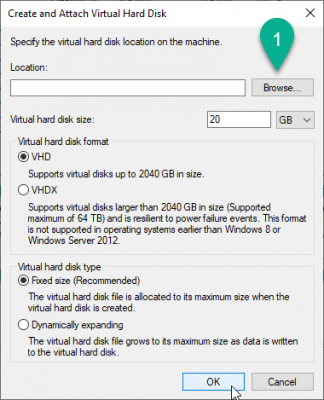
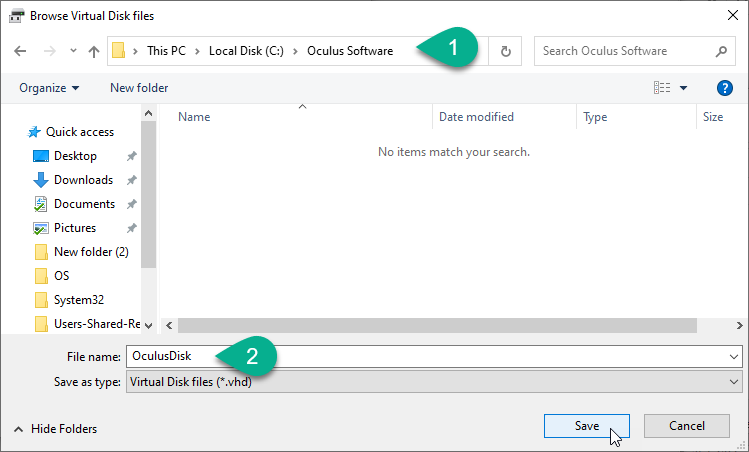
In the dialog that appears click “Browse” to pick a spot to save the disk
-
Navigate the Browse window to C:\Oculus Software (or a spot of your choosing) and enter “OculusDisk” in the File Name
-
Then press OK
-
Navigate the Browse window to C:\Oculus Software (or a spot of your choosing) and enter “OculusDisk” in the File Name
-
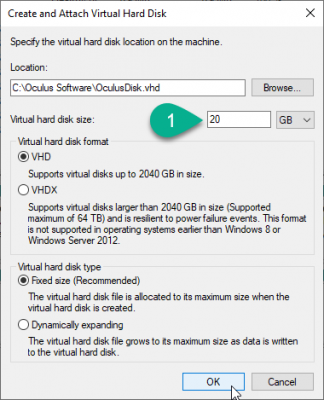
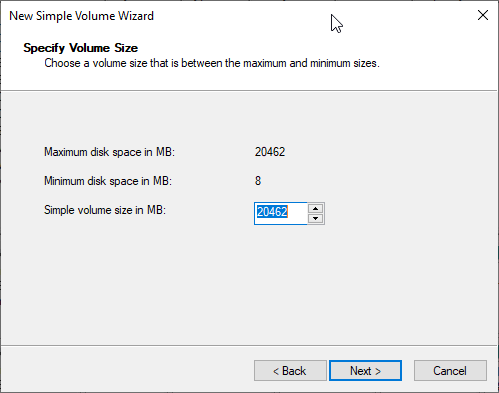
In the Virtual Hard Drive disk space field, enter “20” and select “GB”, then press OK
Part 2: Make the Virtual Disk Accessible
-
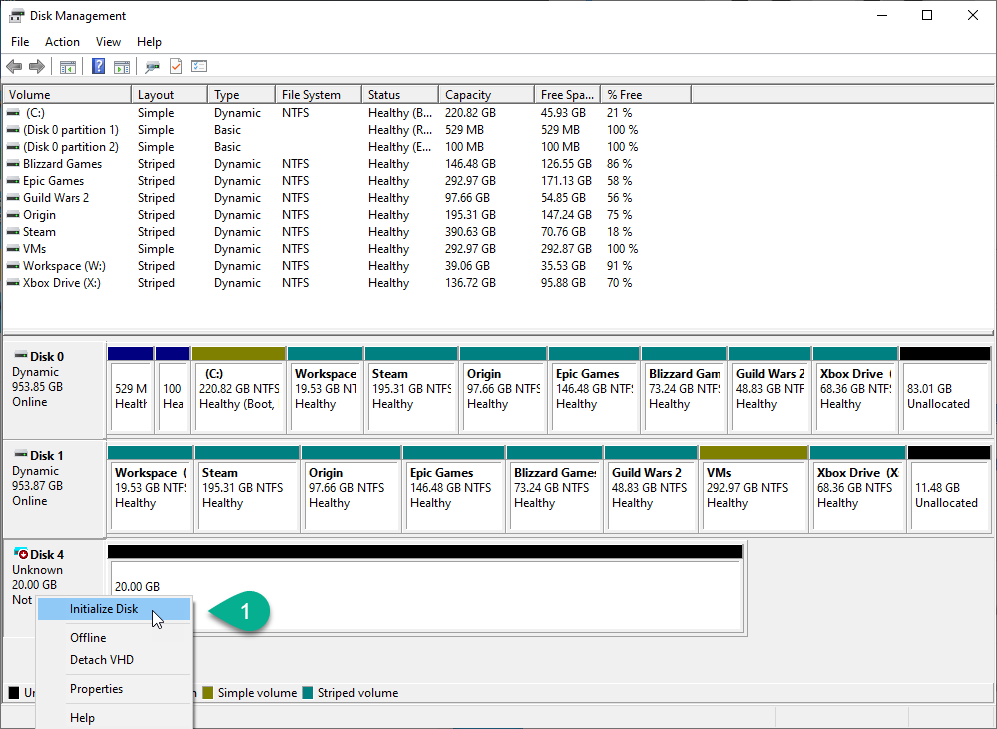
In that newly created disk area, right click the grey area on the left and click Initialize Disk
-
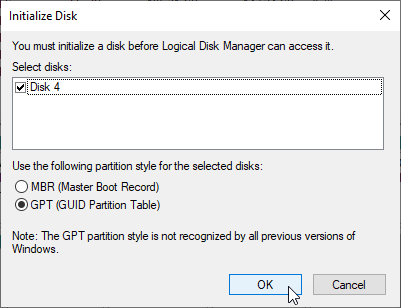
Click OK in the dialog that appears
-
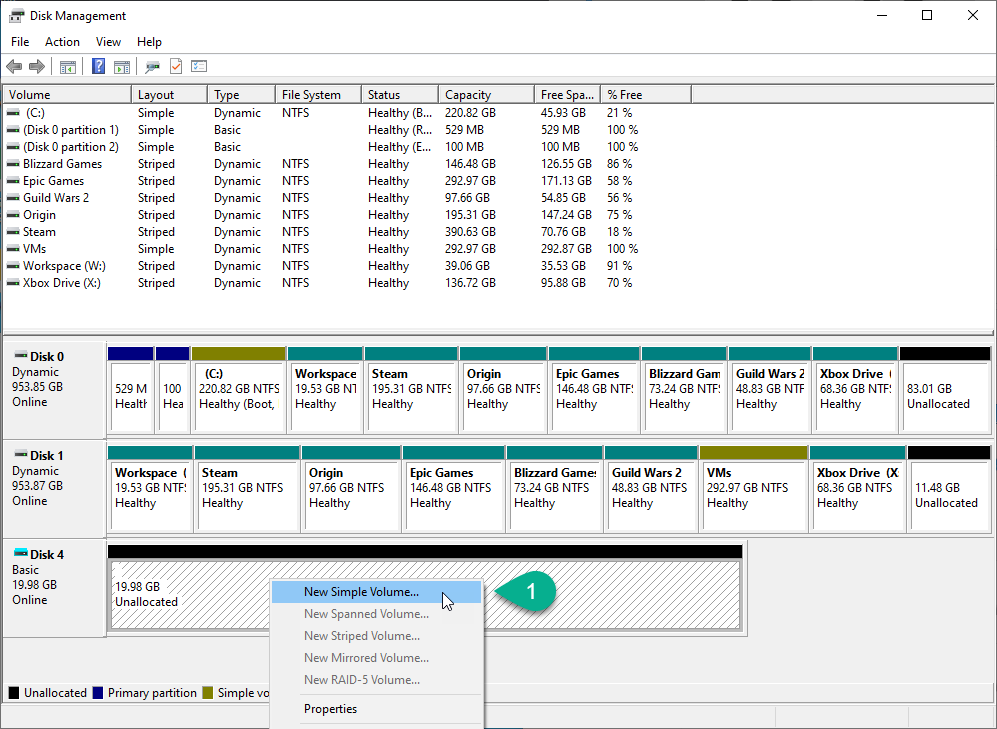
The dialog should close. Right click the white area of the new disk (under the black bar) and click New Simple Volume
-
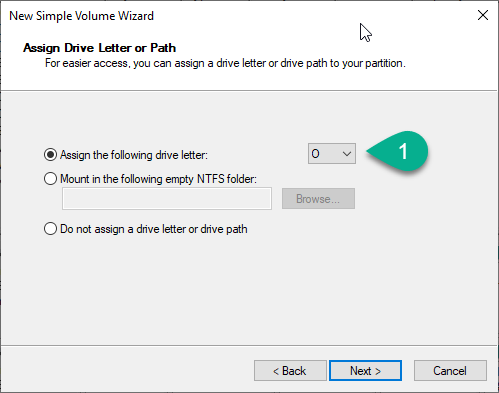
In the Assign Drive Letter or Path step, beside Assign the following drive letter, click and select “O” in the dropdown and click Next.
-
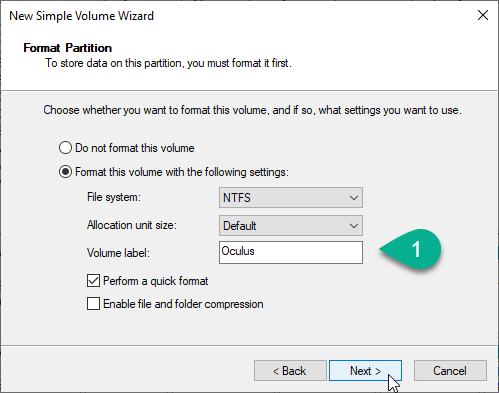
In the Format Partition step, beside Volume Label, enter “Oculus” in the text field and click Next.
-
Lastly, click Finish.

Part 3: Installing the Oculus Software
-
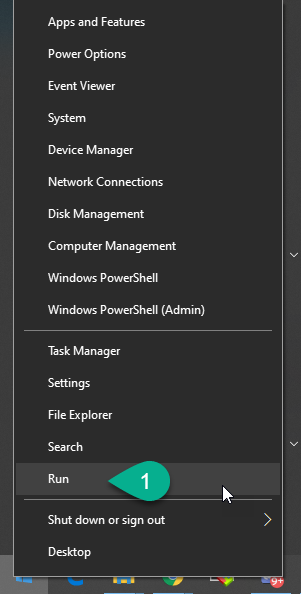
Right click the Start Button and click Run
-
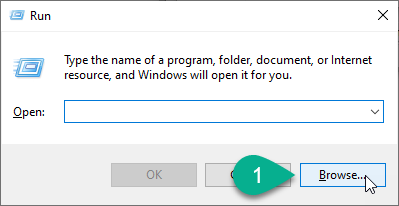
In the Run Dialog, click Browse
-
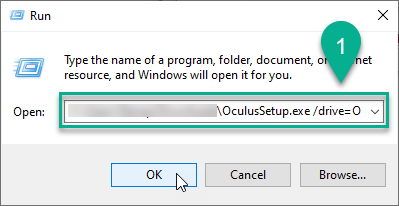
Browse to the Oculus Installer, and click Open
- In the File Path text box, press the spacebar and add the following text to the end, then press OK:
/drive=OIt should look a bit like this:
-
Go through the steps in the Oculus Software installer!
**Enjoy Oculus VR! Give me a follow at @TheDailyDev on X!